Finding Your Perfect Wedding Invitation: A Complete Style + Design Guide
1st October 2025
Your wedding invitation is often the first glimpse your guests will get of your big day — it’s a hint of your style, your tone, and the experience you’re creating. So choosing the “right” invitation isn’t just about pretty paper — it’s about making a meaningful first impression.
In this guide, we’ll walk you through everything from theme alignment and wording to finishing touches and sample checks, so you feel confident in selecting stationery that truly fits you.
1. Align With Your Wedding Vision
-
Start with overall style. Are you planning a garden wedding, a sleek city celebration, or a rustic barn soirée? Your venue and theme can be your starting point.
-
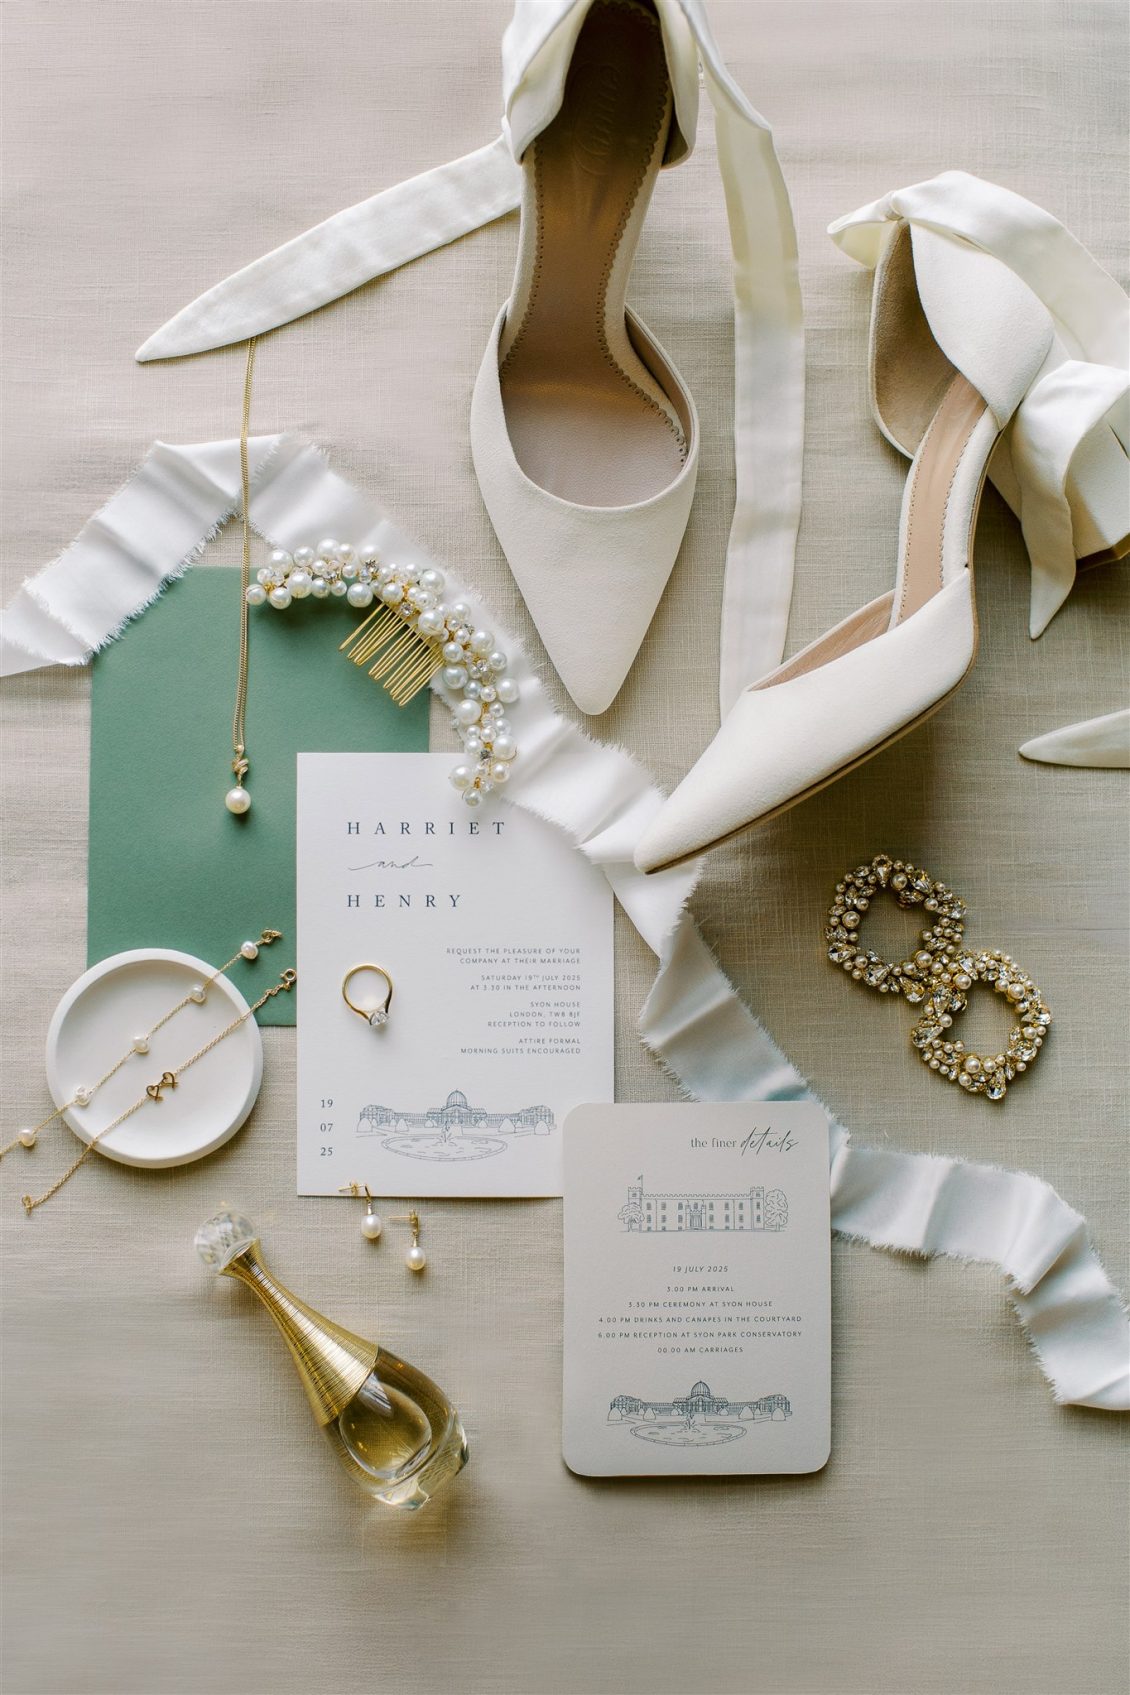
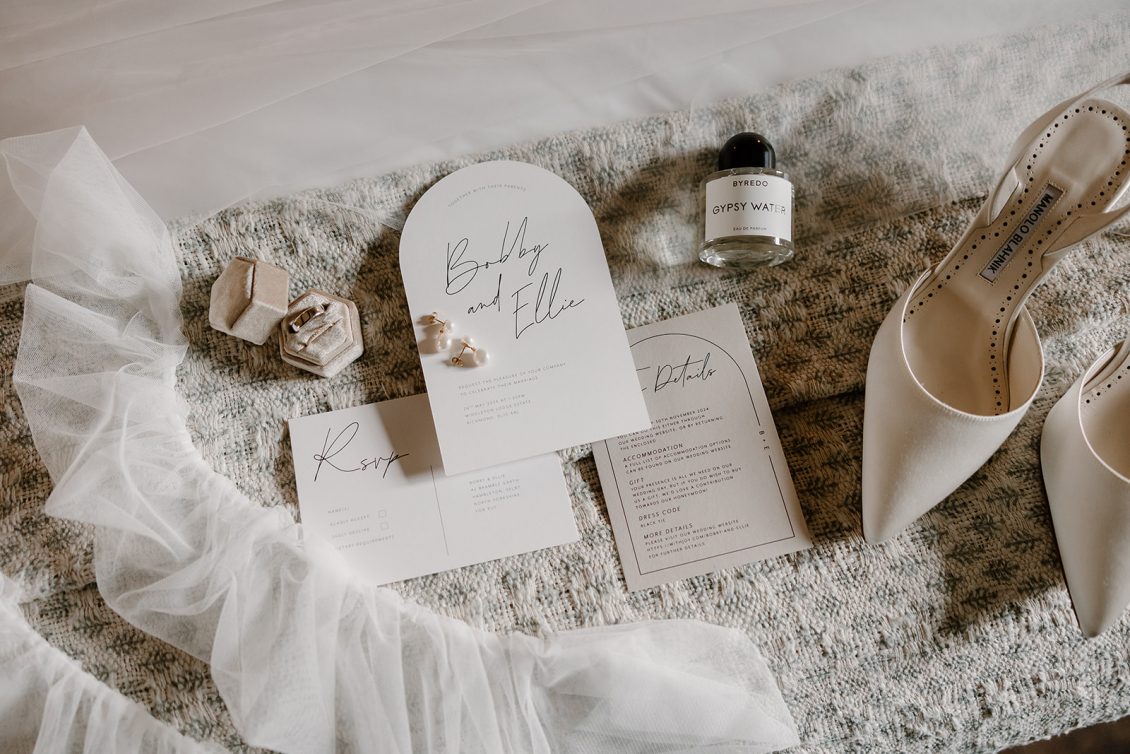
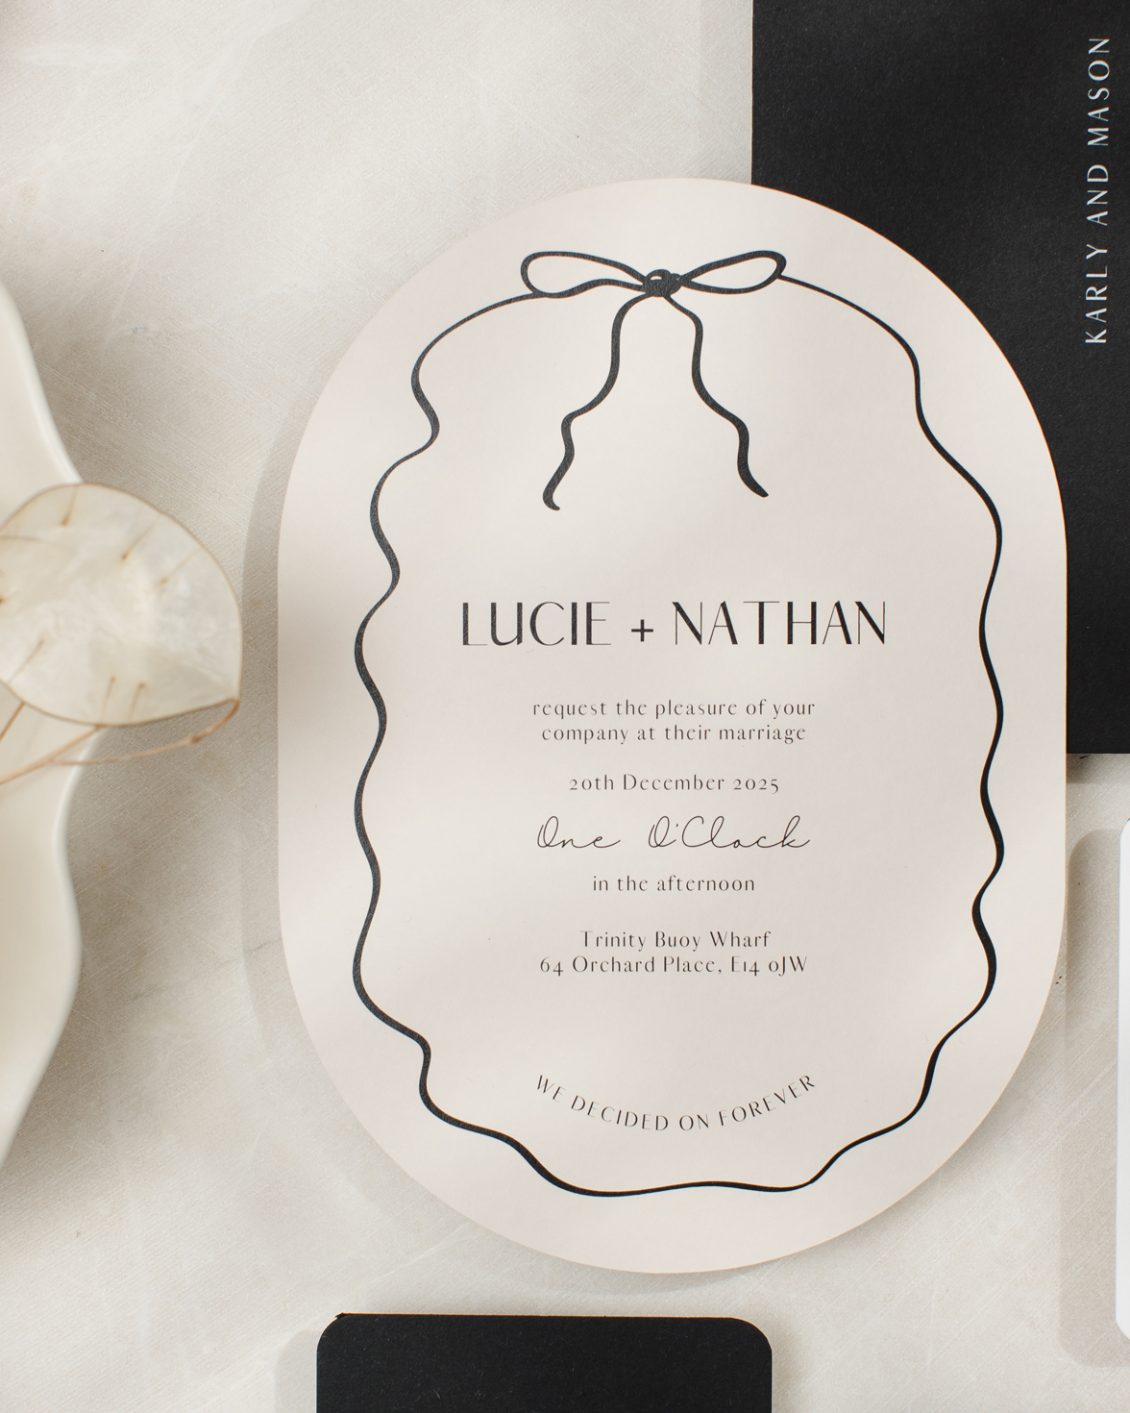
Tone & style cues. Use your décor, colour palette, and moodboard as a basis for invitation styles — for instance, earthy textures for boho, clean lines for modern, floral motifs for romantic.
-
Cohesive design. Once you’ve picked your style, carry it through your invite suite (details card, RSVP, maps, etc.) so it all feels unified.
2. Paper, Texture & Print Options
-
Paper stock matters. Thick card, textured linen, handmade, or cotton paper — each gives a different feel.
-
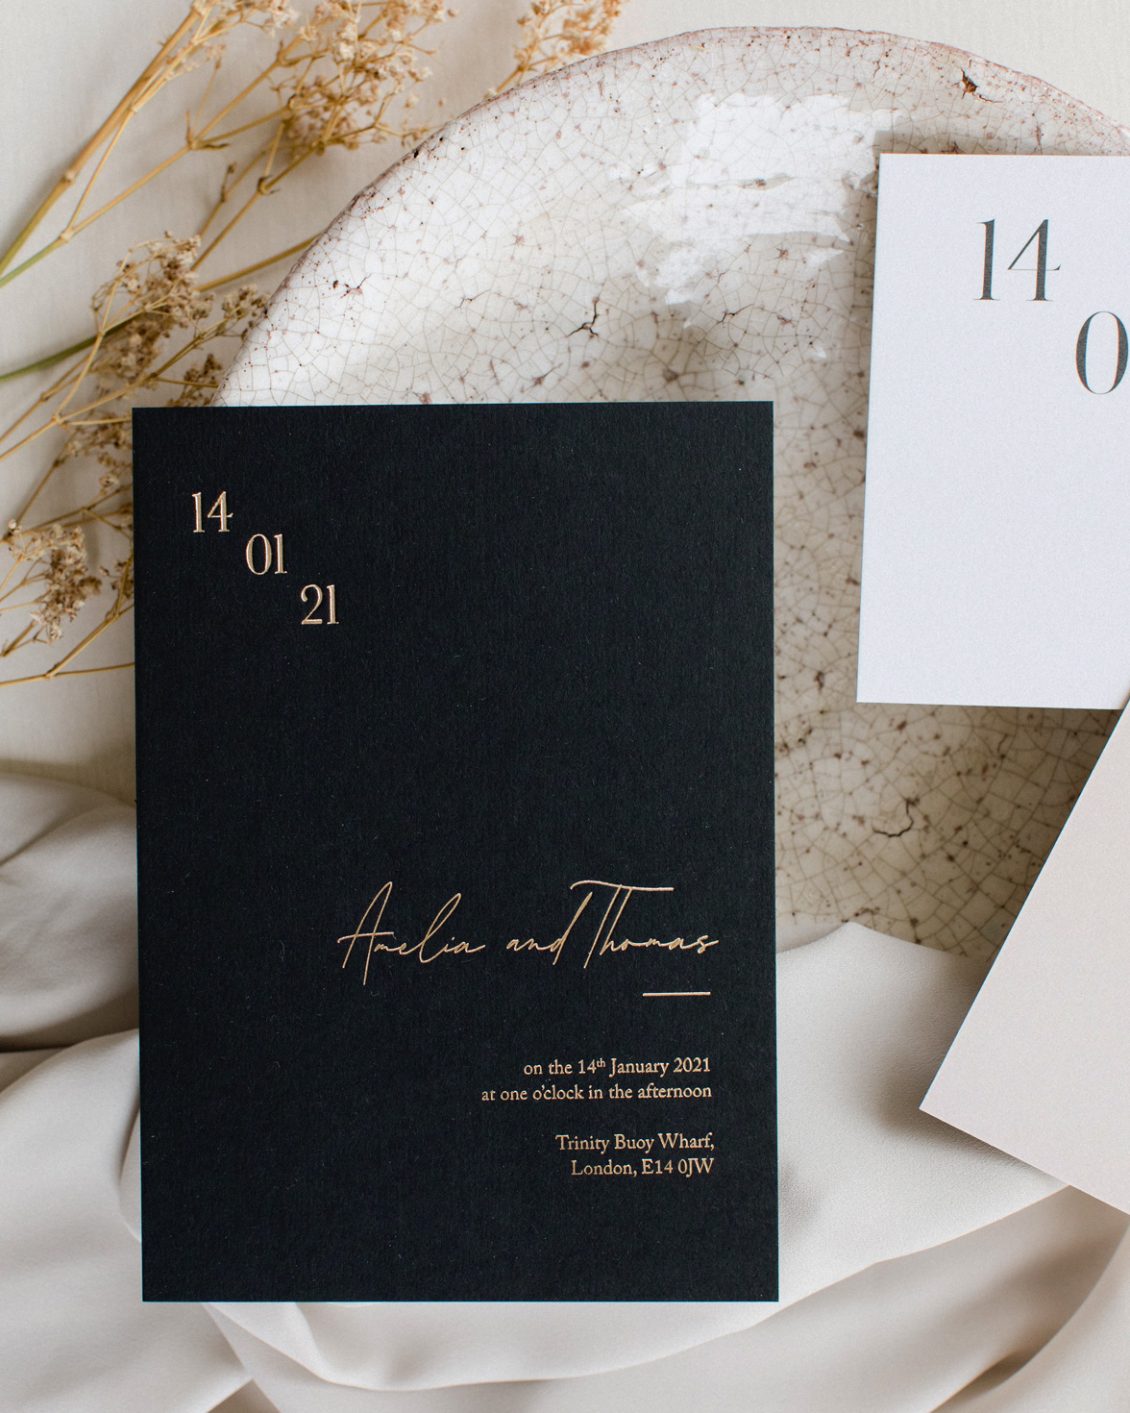
Printing techniques. Consider options like letterpress, foil stamping, flat printing, or embossing, depending on the look and budget you prefer.
-
Edge details. Deckle edges, torn edges, gilded sides — these small touches add elegance.
-
Colour vs tone. Even if your wedding colours are bold, you might opt for a more muted palette on the invitation for readability and longevity.
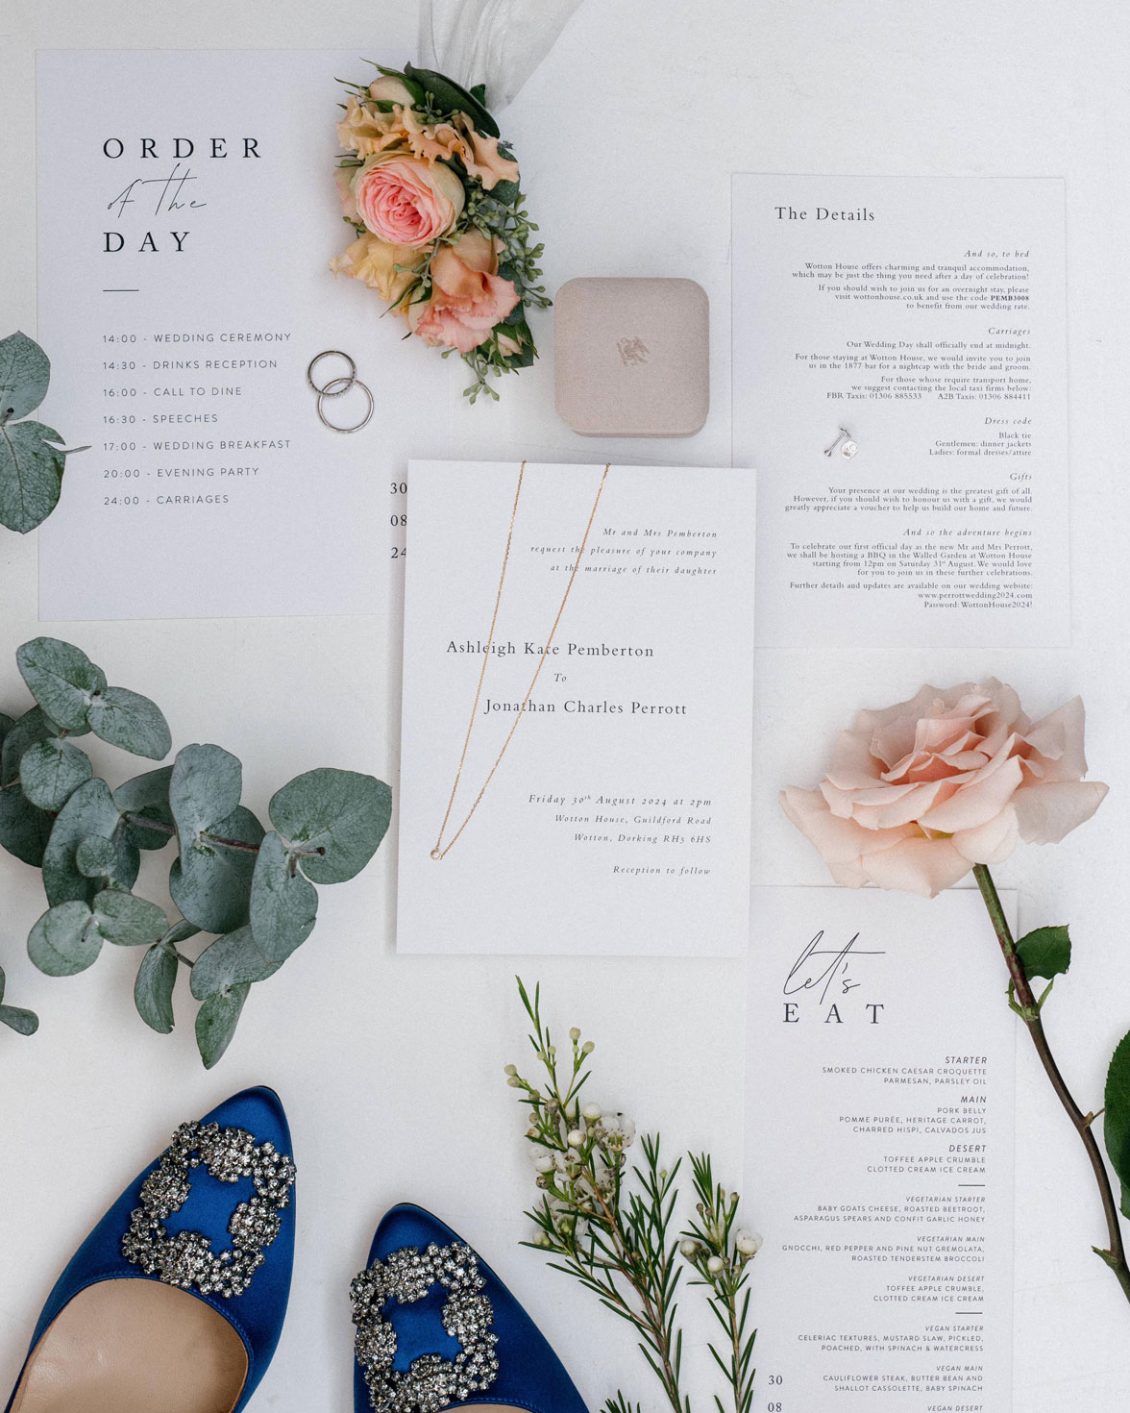
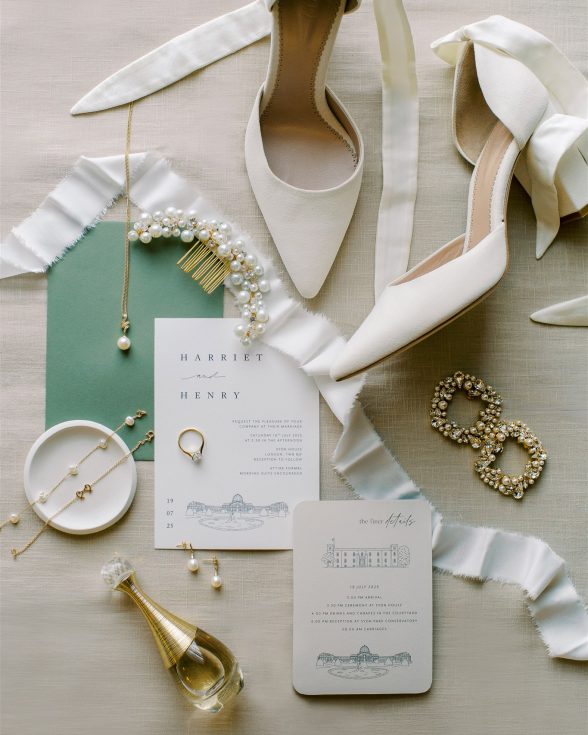
3. What to Include in the Invitation Suite
Every invitation “set” should cover the essentials. Here’s what couples often include:
-
The main invitation card (names, hosts, date/time, venue)
-
A details or information card (dress code, directions, accommodation, timings)
-
The RSVP card (with return envelope or digital RSVP link)
-
Optional extras: maps, schedule cards, menu previews, RSVP envelopes, or accommodation suggestions
Make sure each piece is in the same style family and feels connected, not disjointed.
4. Wording Tips & Etiquette
-
Decide your formality. Formal (“request the honour …”) vs more casual (“we invite you to …”) depends on your event.
-
Be clear & consistent. Match how you refer to names, titles, and ordering (e.g. “Mr. & Mrs.” vs full names).
-
Don’t forget the small things. Include RSVP deadlines, ceremony time, reception time, location names, and dress code.
-
Optional items. If you have specific wording for children or gift lists, make them concise and polite.
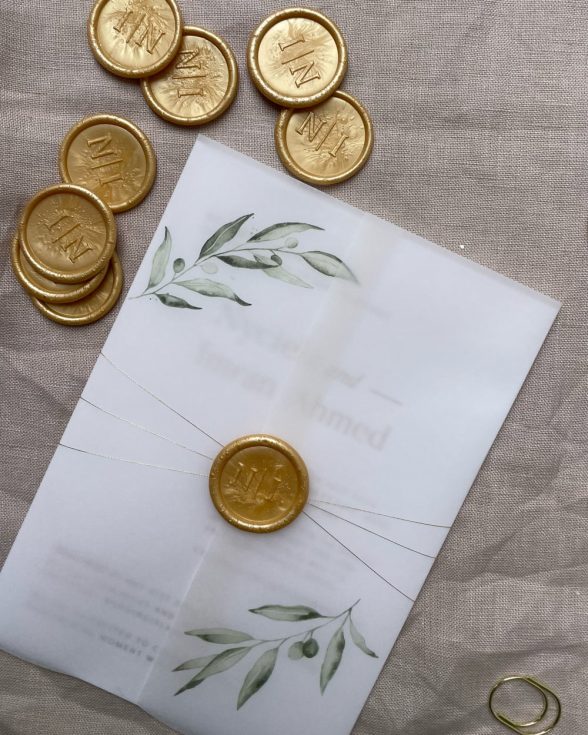
5. Personal Touches & Embellishments
These are the accents that make your invites feel custom designed
-
Wax seals, ribbons, or twine (to wrap or tie your suite)
-
Envelope liners or painted edges
-
Foiled or metallic accents
-
Custom illustrations or sketches of your venue or florals
-
Belly bands or vellum wraps to hold the suite together
6. Request Samples & Final Checks
-
Order swatches or full samples. Seeing and touching the invitations in person helps you catch colour differences or design concerns.
-
Proofread carefully. Double-check spelling, dates, times, and names.
-
Visual consistency. Lay out the suite side-by-side and make sure fonts, alignment, margins all feel balanced.
-
Strategy for quantity. Order a few extras (for keepsakes, mistakes, or last-minute guests).
7. Next Steps & Your Invitation Journey
Once you’ve nailed your style, print method, wording, and finishing touches, you’ll be ready to send your invites—and make a lasting first impression.
If you’d like help choosing designs or customising your invitation suite, I’d love to chat and bring your stationery vision to life.
Categories: Inspiration, Tips.